Unity夜视图像效果后处理教程
在本教程中,我将展示如何在 Unity 中创建夜视效果。
夜视 是一种增强弱光环境下可视性的图像效果。这种效果经常在视频游戏中用来模仿现实生活中的夜视镜。
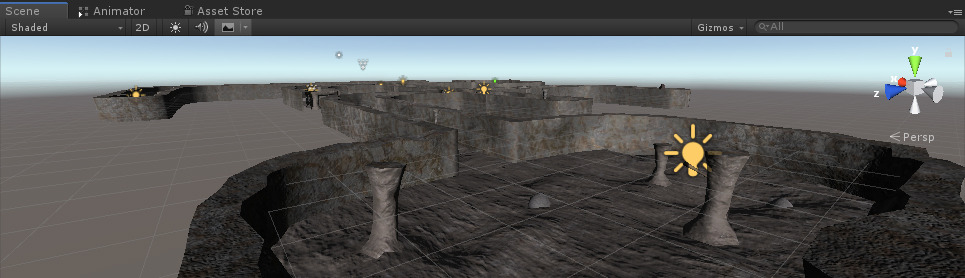
出于演示目的,我将使用 Asset Store 中的 Small Cave Kit。
为了在 Unity 中制作夜视效果,我们将使用特殊的着色器和后处理脚本。
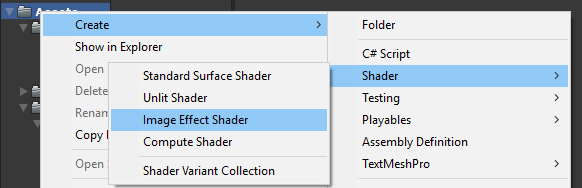
第 1 步:创建图像效果着色器
图像效果本身是在自定义着色器的帮助下完成的。
- 创建一个新的着色器(创建 -> 着色器 -> 图像效果着色器)并命名 "NightVisionShader"
- 删除其中的所有内容,然后粘贴以下代码:
NightVisionShader.shader
Shader "Hidden/Night Vision" {

	Properties {
		_MainTex ("Base (RGB)", RECT) = "white" {}
	}

	SubShader {
		Pass {
			ZTest Always Cull Off ZWrite Off
			Fog { Mode off }

			CGPROGRAM
				#pragma vertex vert_img
				#pragma fragment frag
				#pragma fragmentoption ARB_precision_hint_fastest
				#include "UnityCG.cginc"

				// frag shaders data
				uniform sampler2D _MainTex;
				uniform float4 _Luminance;
				uniform float _LensRadius;

				// frag shader
				float4 frag (v2f_img i) : COLOR
				{

					float4 col = tex2D(_MainTex, i.uv);

					//obtain luminance value
					col = dot(col, _Luminance);

					//add lens circle effect
					//(could be optimised by using texture)
					float dist = distance(i.uv, float2(0.5, 0.5));
					col *= smoothstep( _LensRadius,  _LensRadius - 0.34, dist);

					//add rb to the brightest pixels
					col.r = max (col.r - 0.75, 0) * 4;

					// return col pixel
					return col;
				}
			ENDCG

		}
	}

	Fallback off
}![]()
第 2 步:创建后处理脚本
后处理脚本将使用 Unity's OnRenderImage 函数来获取屏幕的 RenderTexture,然后将其输入到将使用 NightVision Shader 的材质中。
- 创建一个新脚本并命名 "NightVisionImageEffect"
- 将以下代码粘贴到其中:
夜视图像效果.cs
using UnityEngine;

[RequireComponent(typeof(Camera))]
[ExecuteInEditMode]

public class NightVisionImageEffect : MonoBehaviour
{
    // Public data
    public Shader shader;
    [Range(0f, 1f)]
    public float luminance = 0.44f;
    [Range(0.5f, 1f)]
    public float lensRadius = 0.84f;
    // Private data
    Material material;

    // Called by Camera to apply image effect
    void OnRenderImage(RenderTexture source, RenderTexture destination)
    {
        if (shader != null)
        {
            if (!material)
            {
                material = new Material(shader);
            }
            material.SetVector("_Luminance", new Vector4(luminance, luminance, luminance, luminance));
            material.SetFloat("_LensRadius", lensRadius);
            Graphics.Blit(source, destination, material);
        }
        else
        {
            Graphics.Blit(source, destination);
        }
    }
}- 将 NightVisionImageEffect 脚本附加到任何相机
- 使用新创建的 NightVision Shader 分配 Shader 变量

提示: 调整亮度和镜头半径滑块以达到所需的效果

夜视图像效果现已准备就绪。
前:

后:

一切都按预期进行。