在 Unity 中创建跟随玩家的 NPC
非玩家角色或 NPCs 是不受人类玩家控制的角色,而是由脚本或 AI 控制。
NPC 最常见的任务就是跟随或追逐玩家。
在本教程中,我将展示如何在 Unity 中制作跟随玩家的 NPC。
第 1 步:创建播放器控制器
我们将创建一个简单的玩家控制器,以便我们可以四处走动并测试 NPC:
- 创建一个新的 GameObject ('GameObject' -> 'Create Empty') 并命名 "Player"
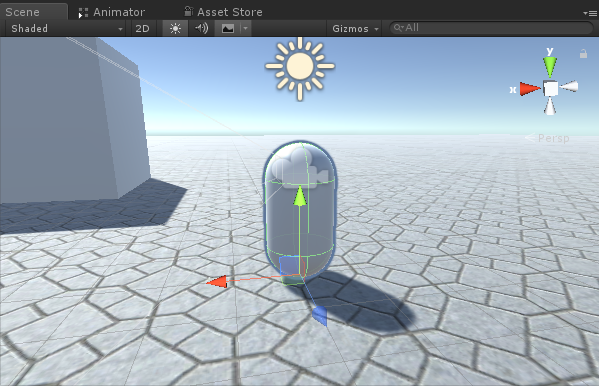
- 创建一个新的 Capsule ('GameObject' -> '3D Object' -> 'Capsule'),将其移动到 Player 对象内,并将其位置更改为 (0, 1, 0)
- 从 Capsule 中移除 Capsule Collider 组件
- 将主摄像机移动到玩家对象内并将其位置更改为 (0, 1.64, 0)
- 创建 一个新脚本,将其命名为 'SC_CharacterController',然后将以下代码粘贴到其中:
'SC_CharacterController.cs'
using UnityEngine;

[RequireComponent(typeof(CharacterController))]

public class SC_CharacterController : MonoBehaviour
{
    public float speed = 7.5f;
    public float jumpSpeed = 8.0f;
    public float gravity = 20.0f;
    public Camera playerCamera;
    public float lookSpeed = 2.0f;
    public float lookXLimit = 45.0f;

    CharacterController characterController;
    Vector3 moveDirection = Vector3.zero;
    Vector2 rotation = Vector2.zero;

    [HideInInspector]
    public bool canMove = true;

    void Start()
    {
        characterController = GetComponent<CharacterController>();
        rotation.y = transform.eulerAngles.y;
    }

    void Update()
    {
        if (characterController.isGrounded)
        {
            // We are grounded, so recalculate move direction based on axes
            Vector3 forward = transform.TransformDirection(Vector3.forward);
            Vector3 right = transform.TransformDirection(Vector3.right);
            float curSpeedX = speed * Input.GetAxis("Vertical");
            float curSpeedY = speed * Input.GetAxis("Horizontal");
            moveDirection = (forward * curSpeedX) + (right * curSpeedY);

            if (Input.GetButton("Jump"))
            {
                moveDirection.y = jumpSpeed;
            }
        }

        // Apply gravity. Gravity is multiplied by deltaTime twice (once here, and once below
        // when the moveDirection is multiplied by deltaTime). This is because gravity should be applied
        // as an acceleration (ms^-2)
        moveDirection.y -= gravity * Time.deltaTime;

        // Move the controller
        characterController.Move(moveDirection * Time.deltaTime);

        // Player and Camera rotation
        if (canMove)
        {
            rotation.y += Input.GetAxis("Mouse X") * lookSpeed;
            rotation.x += -Input.GetAxis("Mouse Y") * lookSpeed;
            rotation.x = Mathf.Clamp(rotation.x, -lookXLimit, lookXLimit);
            playerCamera.transform.localRotation = Quaternion.Euler(rotation.x, 0, 0);
            transform.eulerAngles = new Vector2(0, rotation.y);
        }
    }
}- 将 'SC_CharacterController' 脚本附加到玩家对象并将子主摄像机分配给玩家摄像机变量
- 您会注意到它自动添加了另一个名为“字符控制器”的组件,将其中心位置更改为 (0, 1, 0)
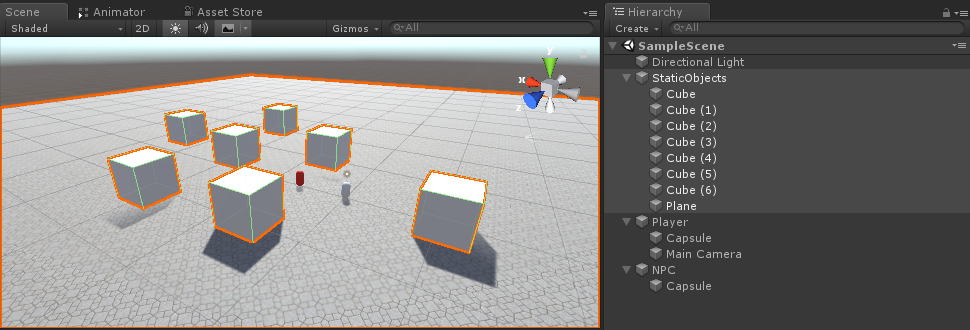
第 2 步:创建 NPC
要创建 NPC,请按照以下步骤操作:
- 创建一个新的 GameObject 并将其命名为“NPC”
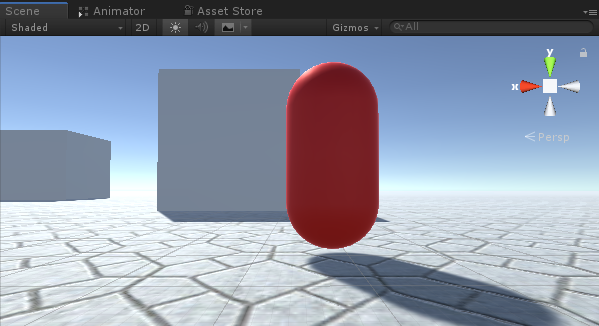
- 创建一个新的 Capsule,将其移动到 NPC 对象内,并将其位置更改为 (0, 1, 0)
- 创建一个新材质并为其命名 "npc_material"
- 将 npc_material 的颜色更改为红色
- 将 npc_material 分配给 NPC 对象内的 Capsule(这只是为了区分 NPC 和玩家)
在继续之前,我们需要在场景中烘焙导航网格。
NavMesh 代表 "Navigation Mesh",用于寻路,让 NPC 在关卡中导航而不会碰到障碍物。
要烘焙 NavMesh,请按照以下步骤操作:
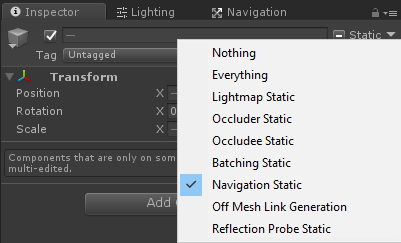
- 将场景中的每个静态对象标记为导航静态
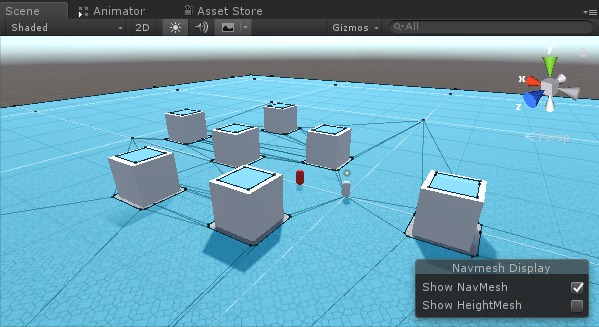
- 转到导航窗口(“窗口”-> 'AI' -> 'Navigation'),选择“烘焙”选项卡,然后单击“烘焙”
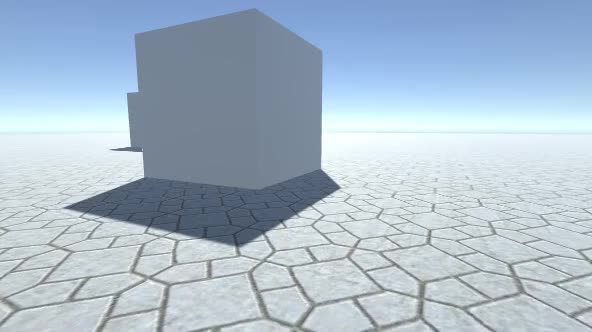
NavMesh 烘焙后,它应该看起来像这样:
现在我们可以开始编写 NPC 运动的程序了:
- 将 'NavMesh Agent' 组件附加到 NPC 对象
- 创建一个新脚本并命名 'SC_NPCFollow'
- 将 'SC_NPCFollow' 脚本附加到 NPC 对象
- 打开 'SC_NPCFollow' 脚本
首先,我们首先在脚本的开头添加一个 UnityEngine.AI 命名空间:
using UnityEngine.AI;然后我们定义必要的变量:
    //Transform that NPC has to follow
    public Transform transformToFollow;
    //NavMesh Agent variable
    NavMeshAgent agent;
在 'void Start()' 中,我们首先将 NavMesh Agent 组件附加到该对象:
    // Start is called before the first frame update
    void Start()
    {
        agent = GetComponent<NavMeshAgent>();
    }
最后,在 'void Update()' 中,我们指示 NavMesh 代理跟随玩家:
    // Update is called once per frame
    void Update()
    {
        //Follow the player
        agent.destination = transformToFollow.position;
    }
这是最终的 'SC_NPCFollow.cs' 脚本:
using UnityEngine;
using UnityEngine.AI;

public class SC_NPCFollow : MonoBehaviour
{
    //Transform that NPC has to follow
    public Transform transformToFollow;
    //NavMesh Agent variable
    NavMeshAgent agent;

    // Start is called before the first frame update
    void Start()
    {
        agent = GetComponent<NavMeshAgent>();
    }

    // Update is called once per frame
    void Update()
    {
        //Follow the player
        agent.destination = transformToFollow.position;
    }
}
修复一些问题:
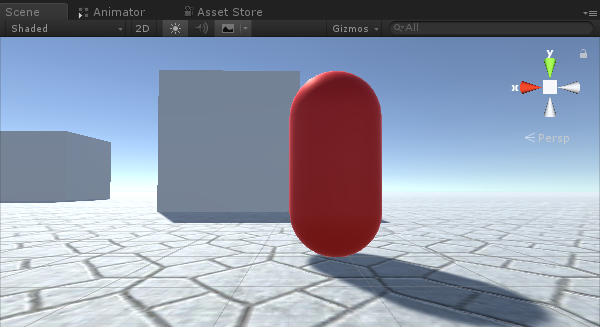
问题 1: 按 Play 后,NPC 胶囊悬停在地面上方:
解决方案: 将 NavMesh Agent 中的 Base Offset 变量更改为负值(在我的例子中为 -0.08)

问题 2: 跟随玩家时 NPC 距离太近:
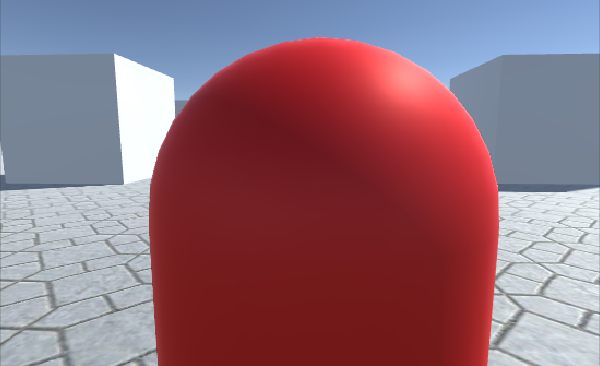
解决方案: 将 NavMesh Agent 中的 Stopping Distance 更改为更高的值(在我的例子中,我将其设置为 5)

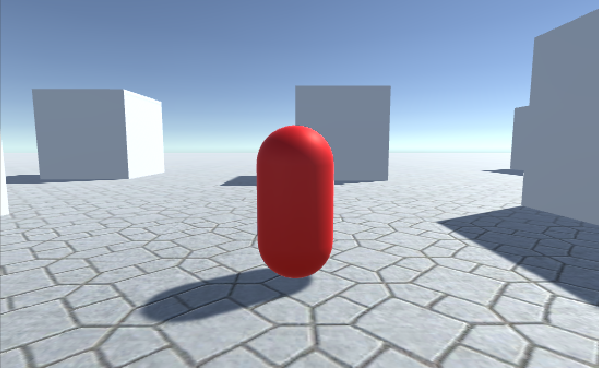
现在NPC已经准备好了,让我们测试一下:
一切都按预期进行,NPC 现在跟随玩家并在设定的距离处停止。